


How to Warm Up Your Hair With a Wet Balayage
June 5, 2024
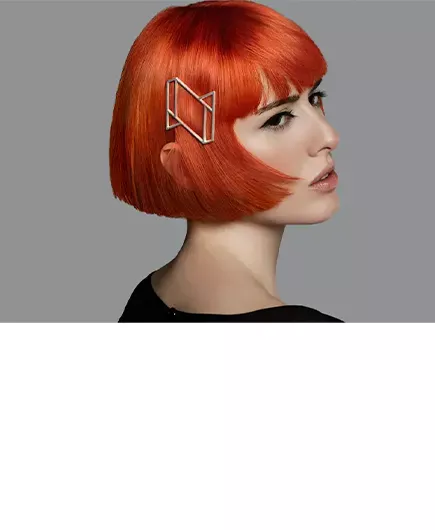
As one of the most popular hair highlighting techniques of the decade, we just can’t get enough of Balayage hair in all its variations! Whether it’s bronzite Balayage, cowgirl copper, or our current 2024 favorite, the copper blonde Balayage that uses our Hair Color of the Year. The Balayage method will no doubt continue to show up on all our social media feeds and we are here for it! Because of this, it should come as no surprise that we’re introducing a fresh twist on the traditional Balayage technique, already renowned as a go-to method in cutting-edge salons. It’s time to officially embrace wet Balayage.
Read on as we share everything you need to know about this bespoke color technique, including how it differs from dry Balayage and if it’s right for you!
View this post on Instagram
What Is Wet Balayage?
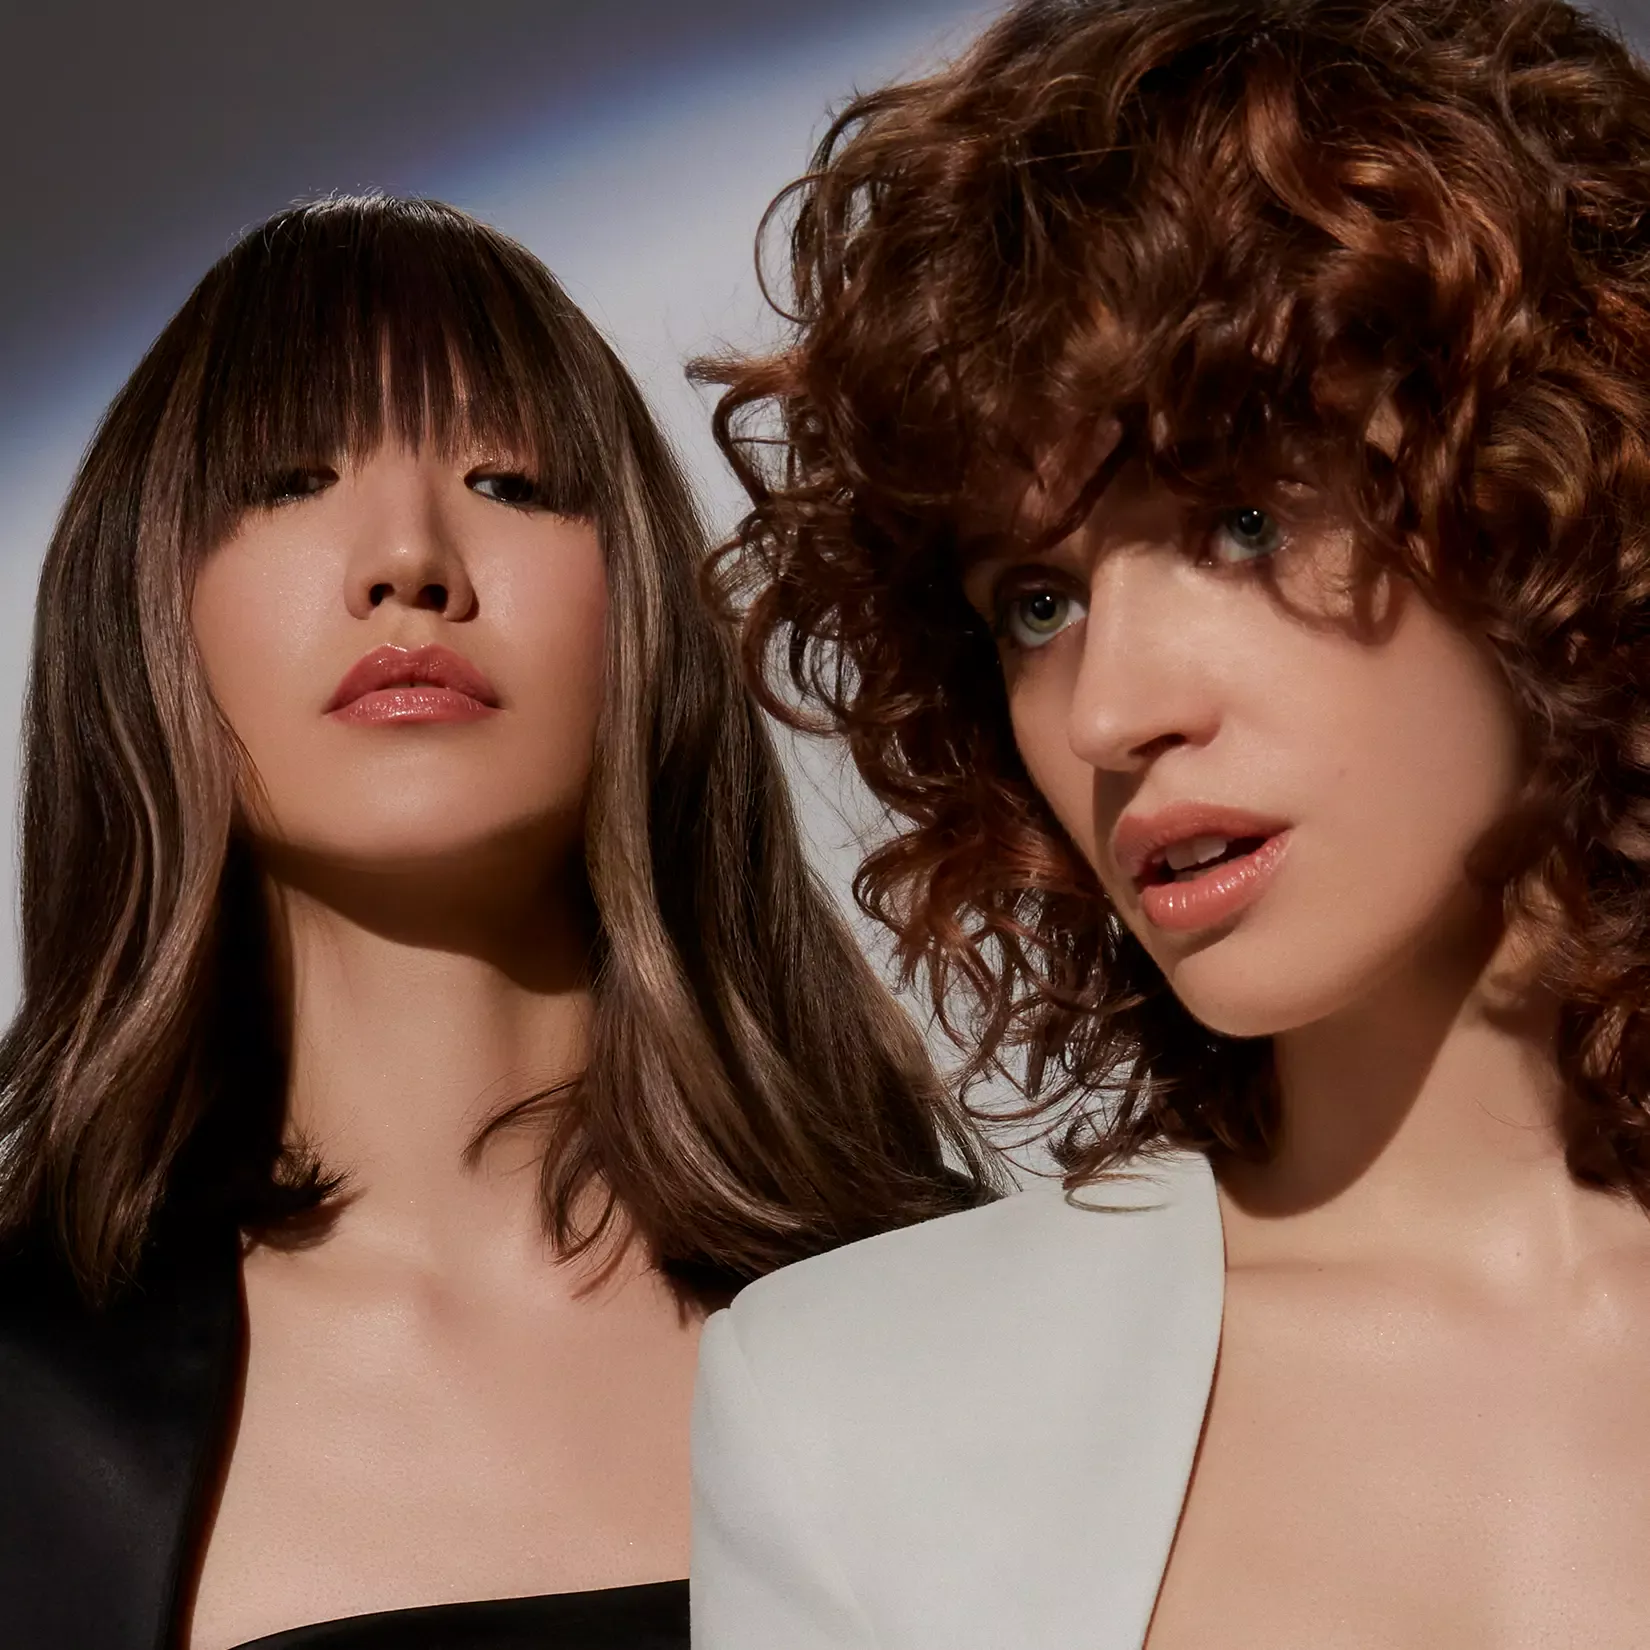
First things first, you may be thinking – isn’t wet Balayage just the same freehand coloring technique as the dry version but on wet hair? And yes, you would be correct! However, there’s a bit more technicality to the process to ensure it is suitable for the hair. The wet Balayage coloring technique still involves painting color or pre-lightener onto sections of hair to create brighter or lighter pieces that blend into the roots for a natural grow-out. However, wet Balayage is done on damp (though not soaking wet) hair. The hair is towel-dried before the hair painting process and after a thorough consultation to ensure that the starting base is correct before proceeding. This is because the wet Balayage will not create as much lift as regular Balayage.
Is Wet Balayage Right for You?
Ideal candidates for the wet Balayage technique typically have hair that is within 1-3 levels of their desired tone and preferably no previous permanent color. This is because darker hair contains red and orange pigments, which become more prominent when lifted from wet hair, especially when artificial color is present. If you’re looking for a more drastic change we suggest you stick with a dry Balayage for the most lifting power.
View this post on Instagram
What Are the Advantages of Choosing a Wet Balayage?
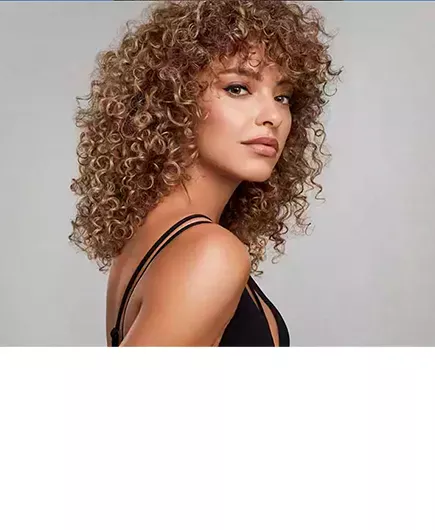
Looking for a subtle color shift with brighter ends and lengths? Wet Balayage is your go-to choice! It’s ideal for those who want a warm tone, such as a vibrant red or copper, or with hair at level 6 or above. Whether you’re between salon visits, dealing with dull ends, or simply craving extra brightness, wet Balayage is a fantastic option. Plus, it’s perfect for individuals with pre-lightened or highlighted hair, because it can enhance existing highlights and add dimensional depth. And if time is of the essence during your salon visit, wet Balayage is a time-saving solution. By dampening the hair with water, it speeds up the breakdown of salt and hydrogen bonds, making the lightening process more efficient. This dual action of depositing and lifting simultaneously helps reduce processing time, ensuring you achieve your desired look in no time.
What Does Wet Balayage Consist of?
A wet Balayage application tends to be very similar to the dry version but with a few tweaks. Here’s the step by step to achieve the technique!
STEP 1: ROOT GLAZE
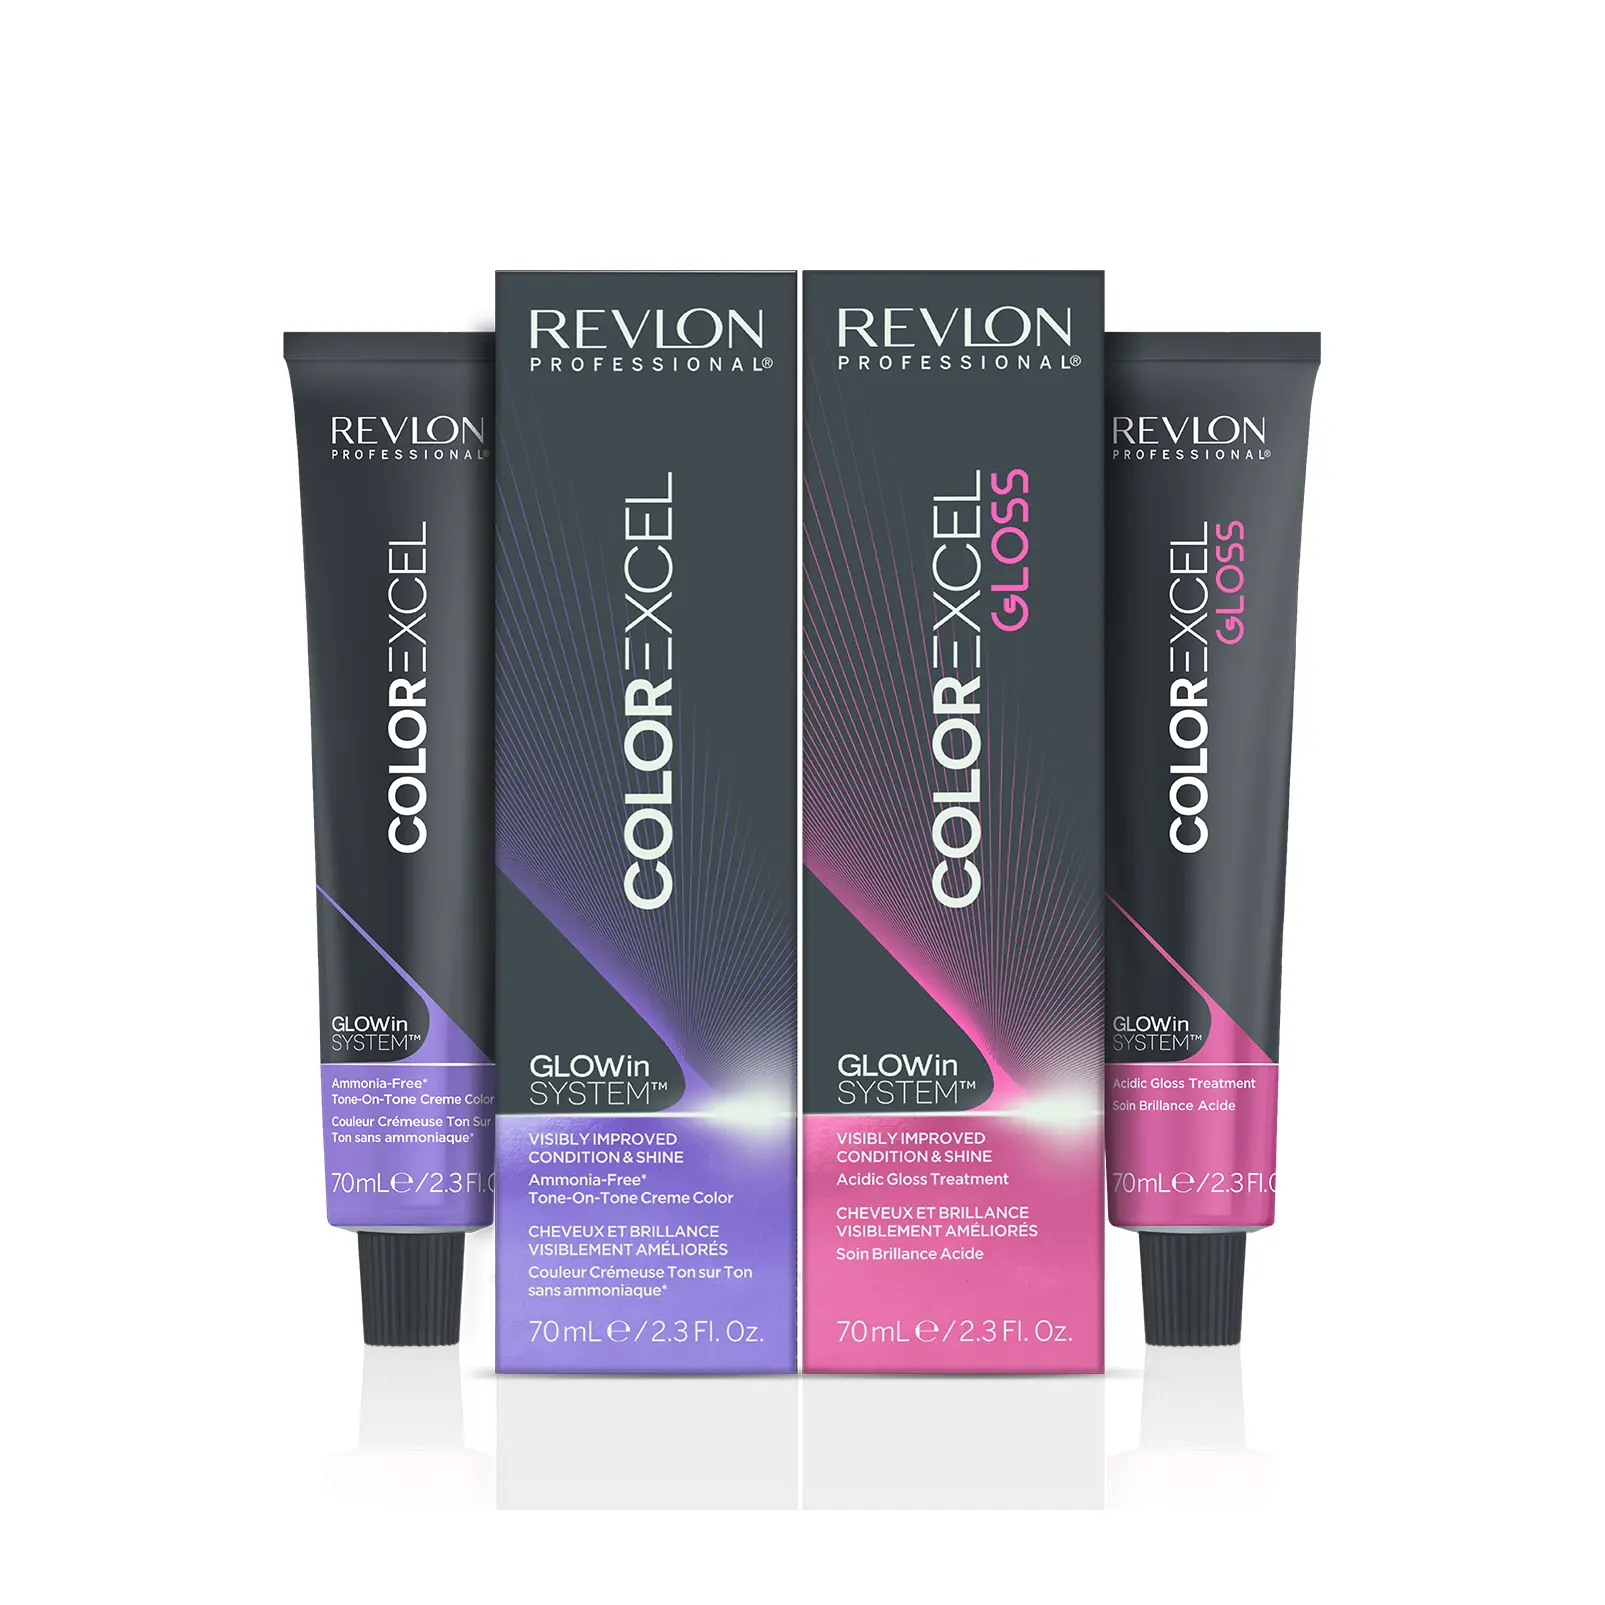
First up, a root glaze or shadow is generally applied first, which will prevent any bleeds of color near the roots (unwanted demarcation lines) and accentuate the overall color with glossy roots. This step can be skipped if you prefer to avoid a root application and go straight for the soft feather roots or to revamp the mids and ends. If you do wish to apply a root shadow, we recommend Color Excel Gloss for a zero lift, zero damage root shade.

STEP 2: LIGHTEN
There are a few steps and considerations when it comes to lightening the hair. Here are a few pro tips for wet Balayage application to guide you:
- Preparation: Begin with freshly cleansed hair and dampened the roots, mid-lengths, and ends.
- Sectioning: After gently towel-drying, section the hair diagonally into strategic pieces.
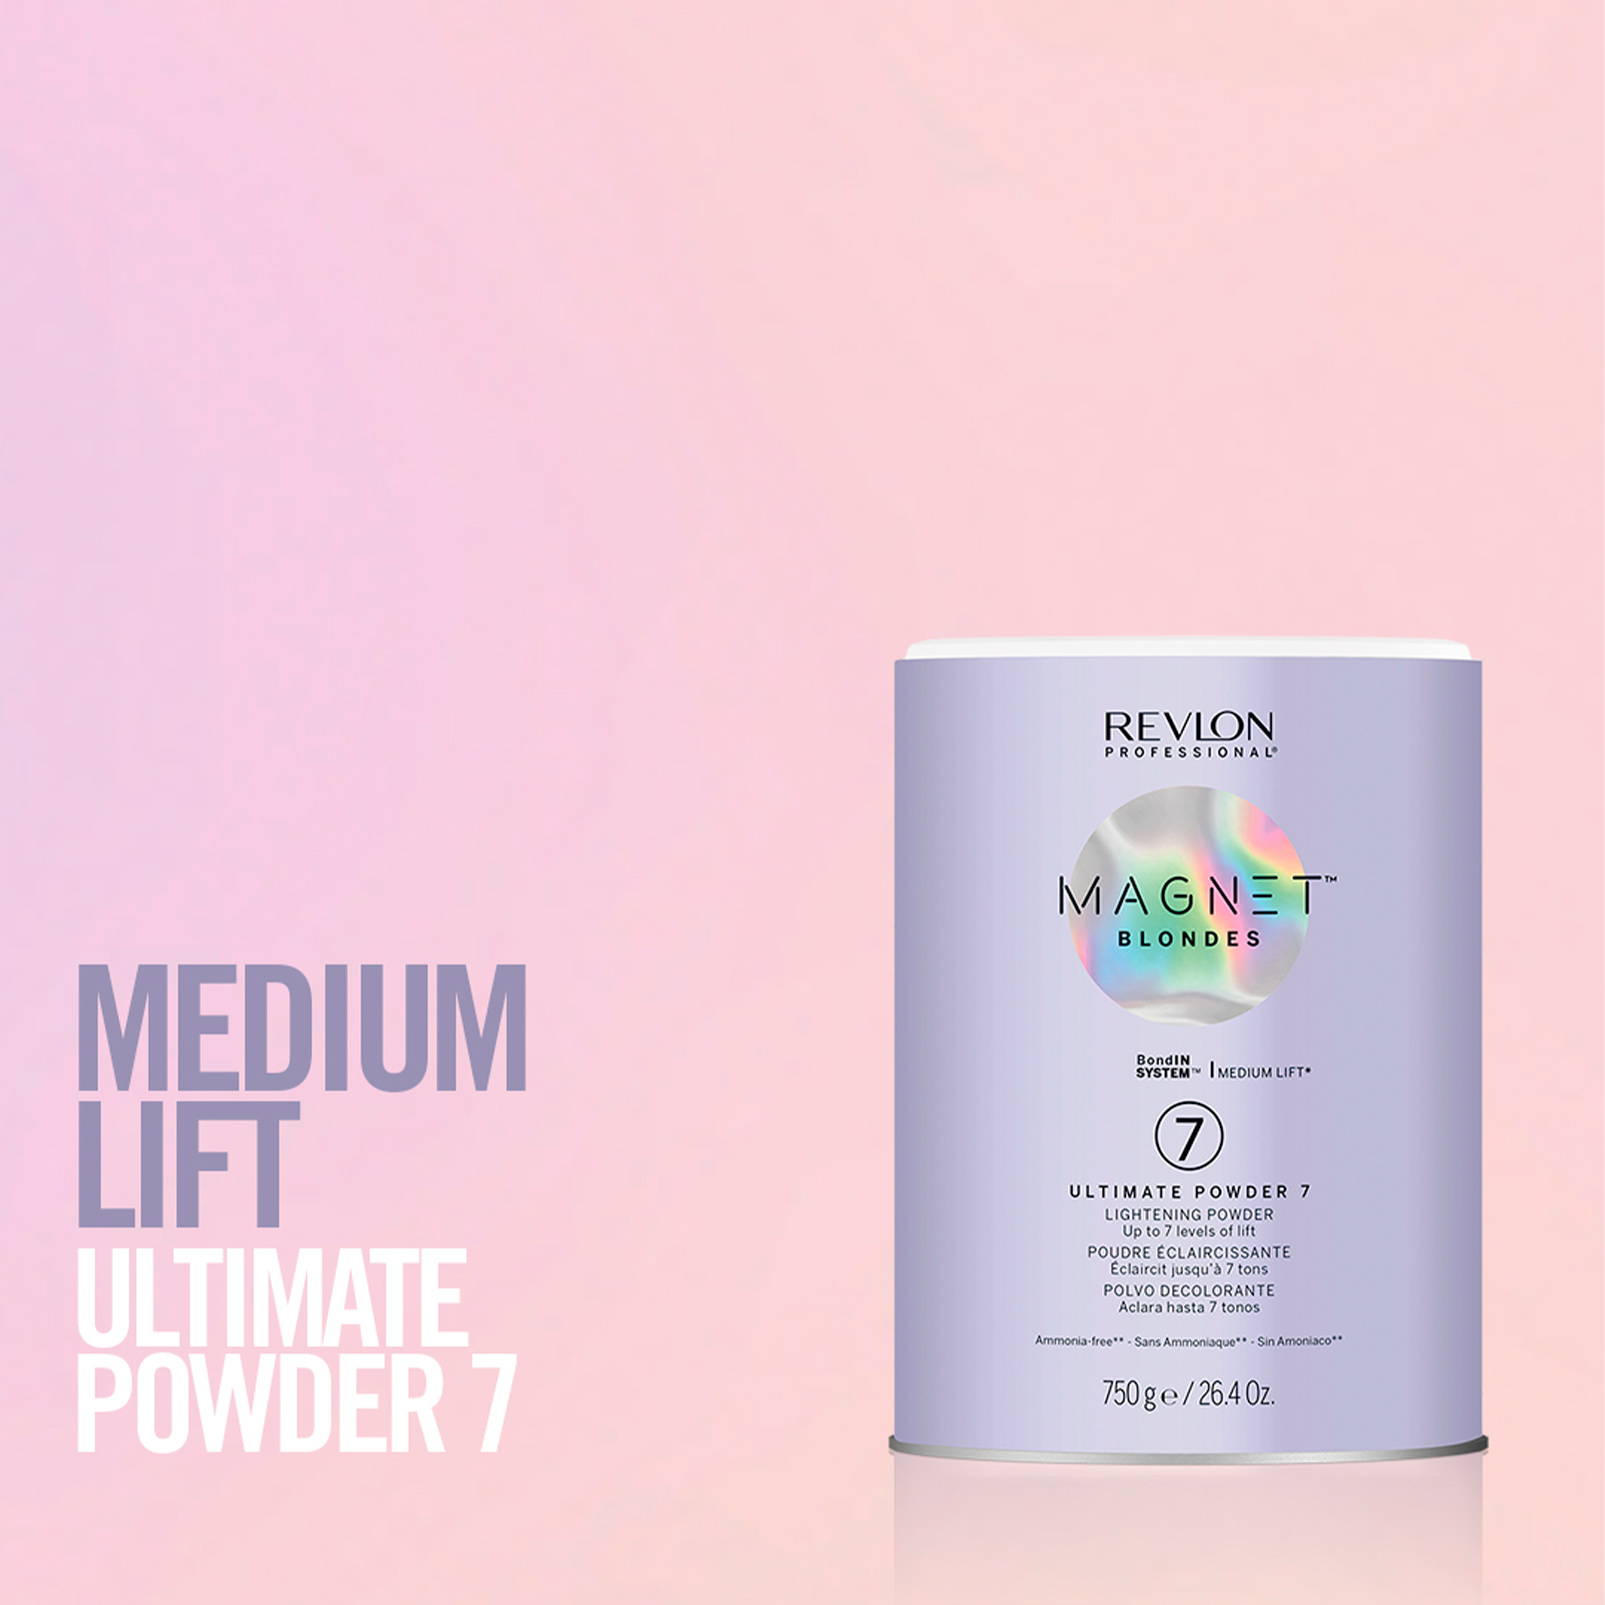
- Product Application: Your stylist will choose a product like Magnet™ Blondes Ultimate Powder 7. Ammonia-free* and apply it from the mid-lengths towards the ends. The developer and strength will be adjusted based on your natural base and other factors.
- Technique: Your stylist will use feathering or backcombing techniques at the roots to ensure a soft blend between the colors.
- Processing: Allow the color to process for up to 50 minutes to achieve the desired level of lightness.
- Placement: The placement of the pre-lightener may vary based on consultation. For a more pronounced effect, your stylist may saturate deeper sections and weaves fully to the ends to enhance dimensionality. They may also leave some sections natural to ensure that darker pieces remain on either side for added contrast and depth.
STEP 3: PREP
Once the perfect undertone is achieved, the pre-lightener will be rinsed off and the hair will be shampooed with a color safe product such as RE/START™ Color Protective Gentle Cleanser or a suitable alternative such as the Magnet™ Ultimate Post-Technical Shampoo to help neutralize the lightener and get the hair prepped for the personalized toner.
STEP 4: GLAZE
This is one of the most exciting steps in the coloring process when the personalized glaze is applied! We love the Color Excel Gloss – 10 Minute hair gloss treatment, which adds a radiant glow, making it the perfect product to use after a pre-lightener service. Each tone is uniquely mixed to achieve the desired look, providing unparalleled care, color, and shine. This damage-reversing demi-permanent hair gloss will glaze, tone, correct, refresh, enhance or neutralize.
To keep the color from fading we recommend rebooking for a toner every 6- 12 weeks!
View this post on Instagram
Caring for Wet Balayage: Essential Tips
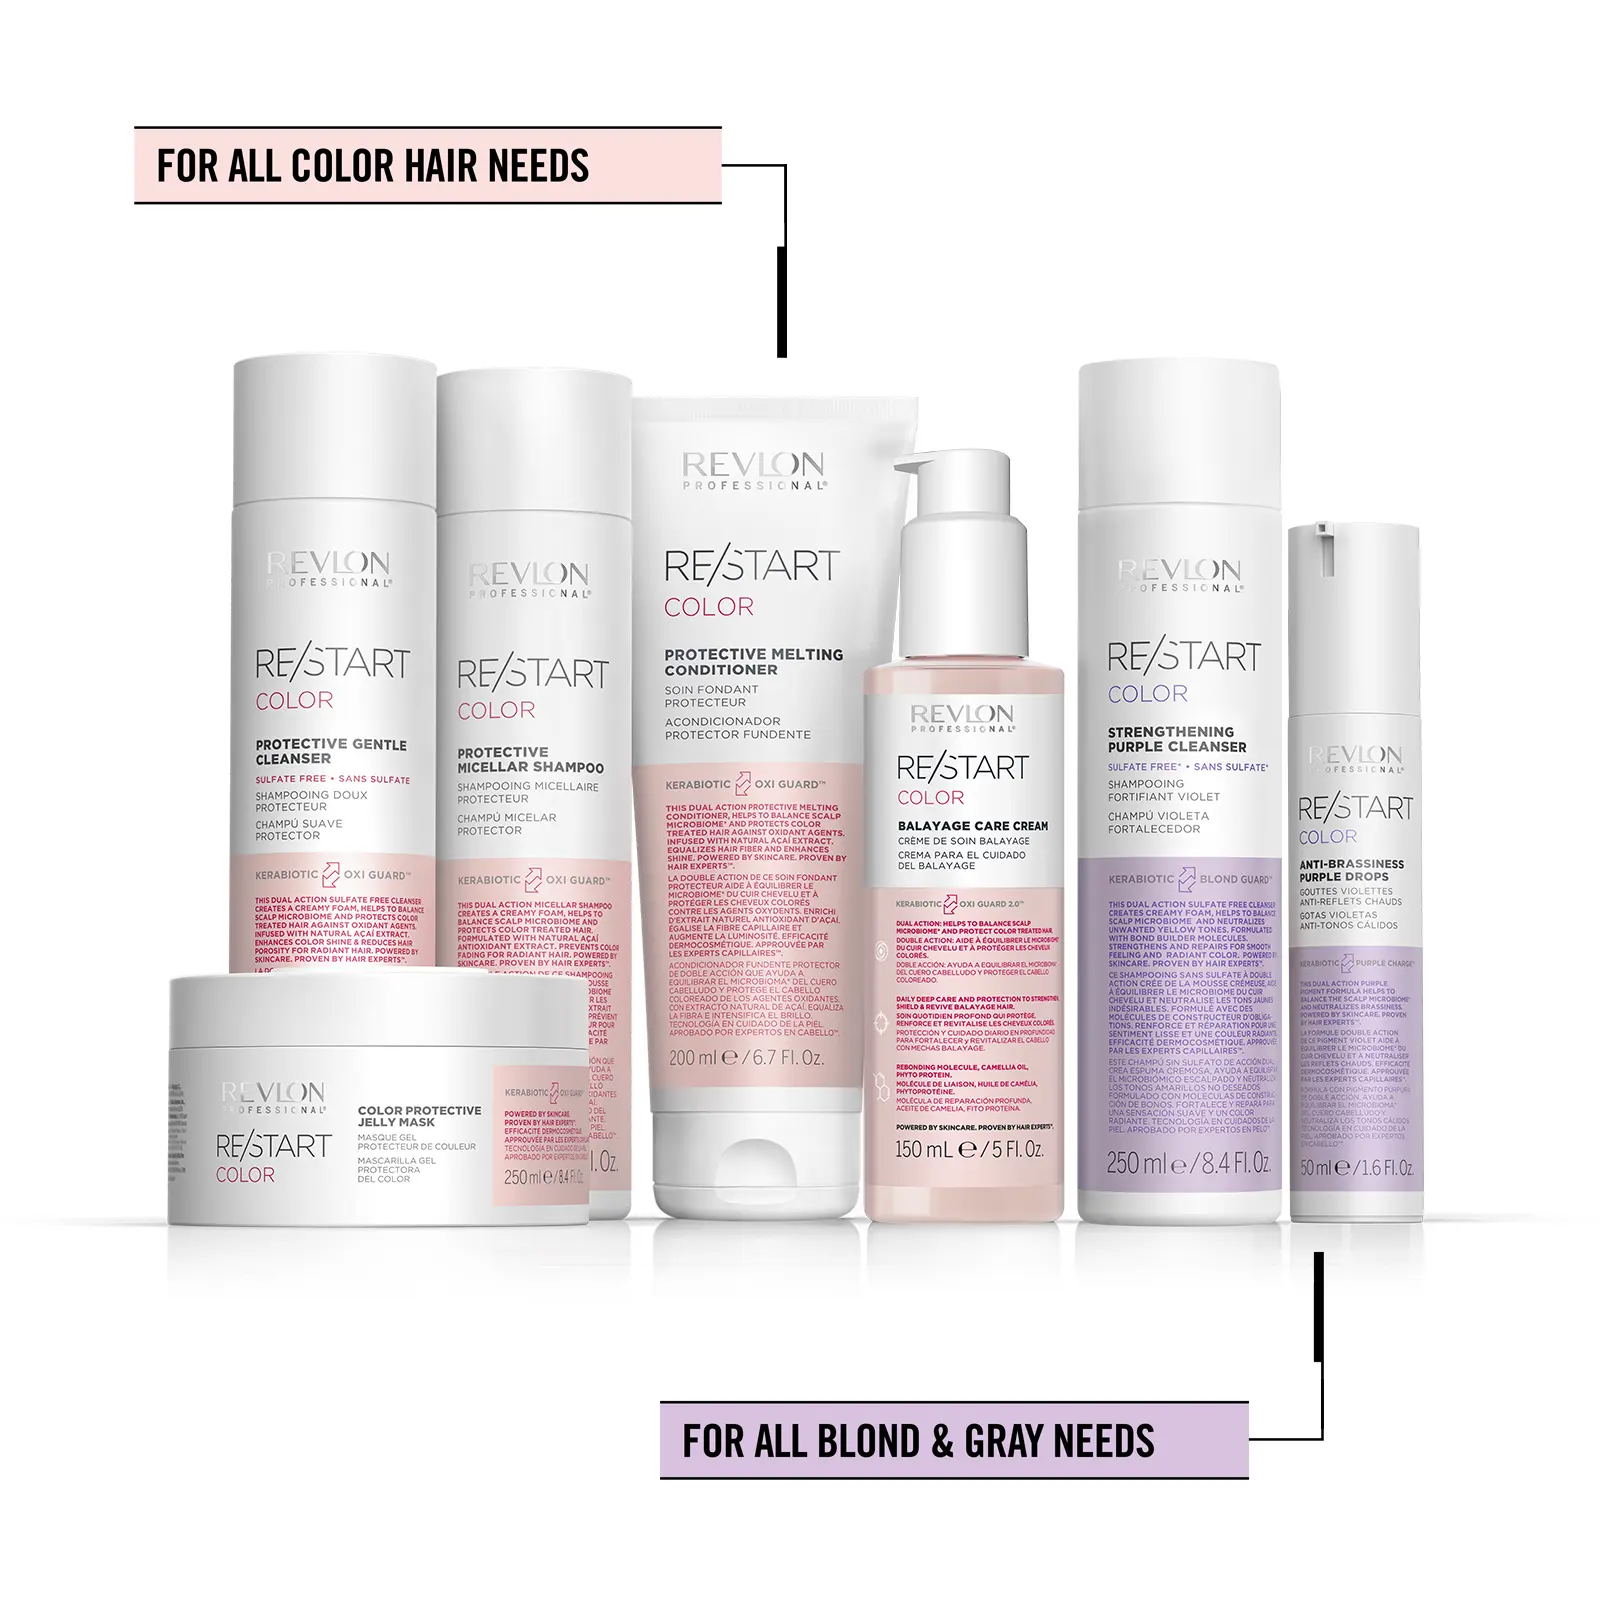
To help maintain salon worthy results at home, it’s very important to use professional care and styling products such as RE/START™ Color, which is designed to gently cleanse and treat the hair while preventing color fading.
Here are a few more pro tips to create a personalized routine of your own!
1. NOURISH LOCKS WITH A HAIR MASK
The longer the hair, the more moisture it generally needs. This is especially true after a coloring service, so give those lengths and ends extra care and hydration with a weekly hair mask. We love the Eksperience™ Color Protection Color Sealing Mask, which seals in color, nourishes colored hair and fights against color fading. To use, simply distribute the hair color protector onto towel-dried hair, leave for a few minutes, then rinse thoroughly before styling.
3. APPLY HAIR SUNSCREEN TO PROTECT COLOR
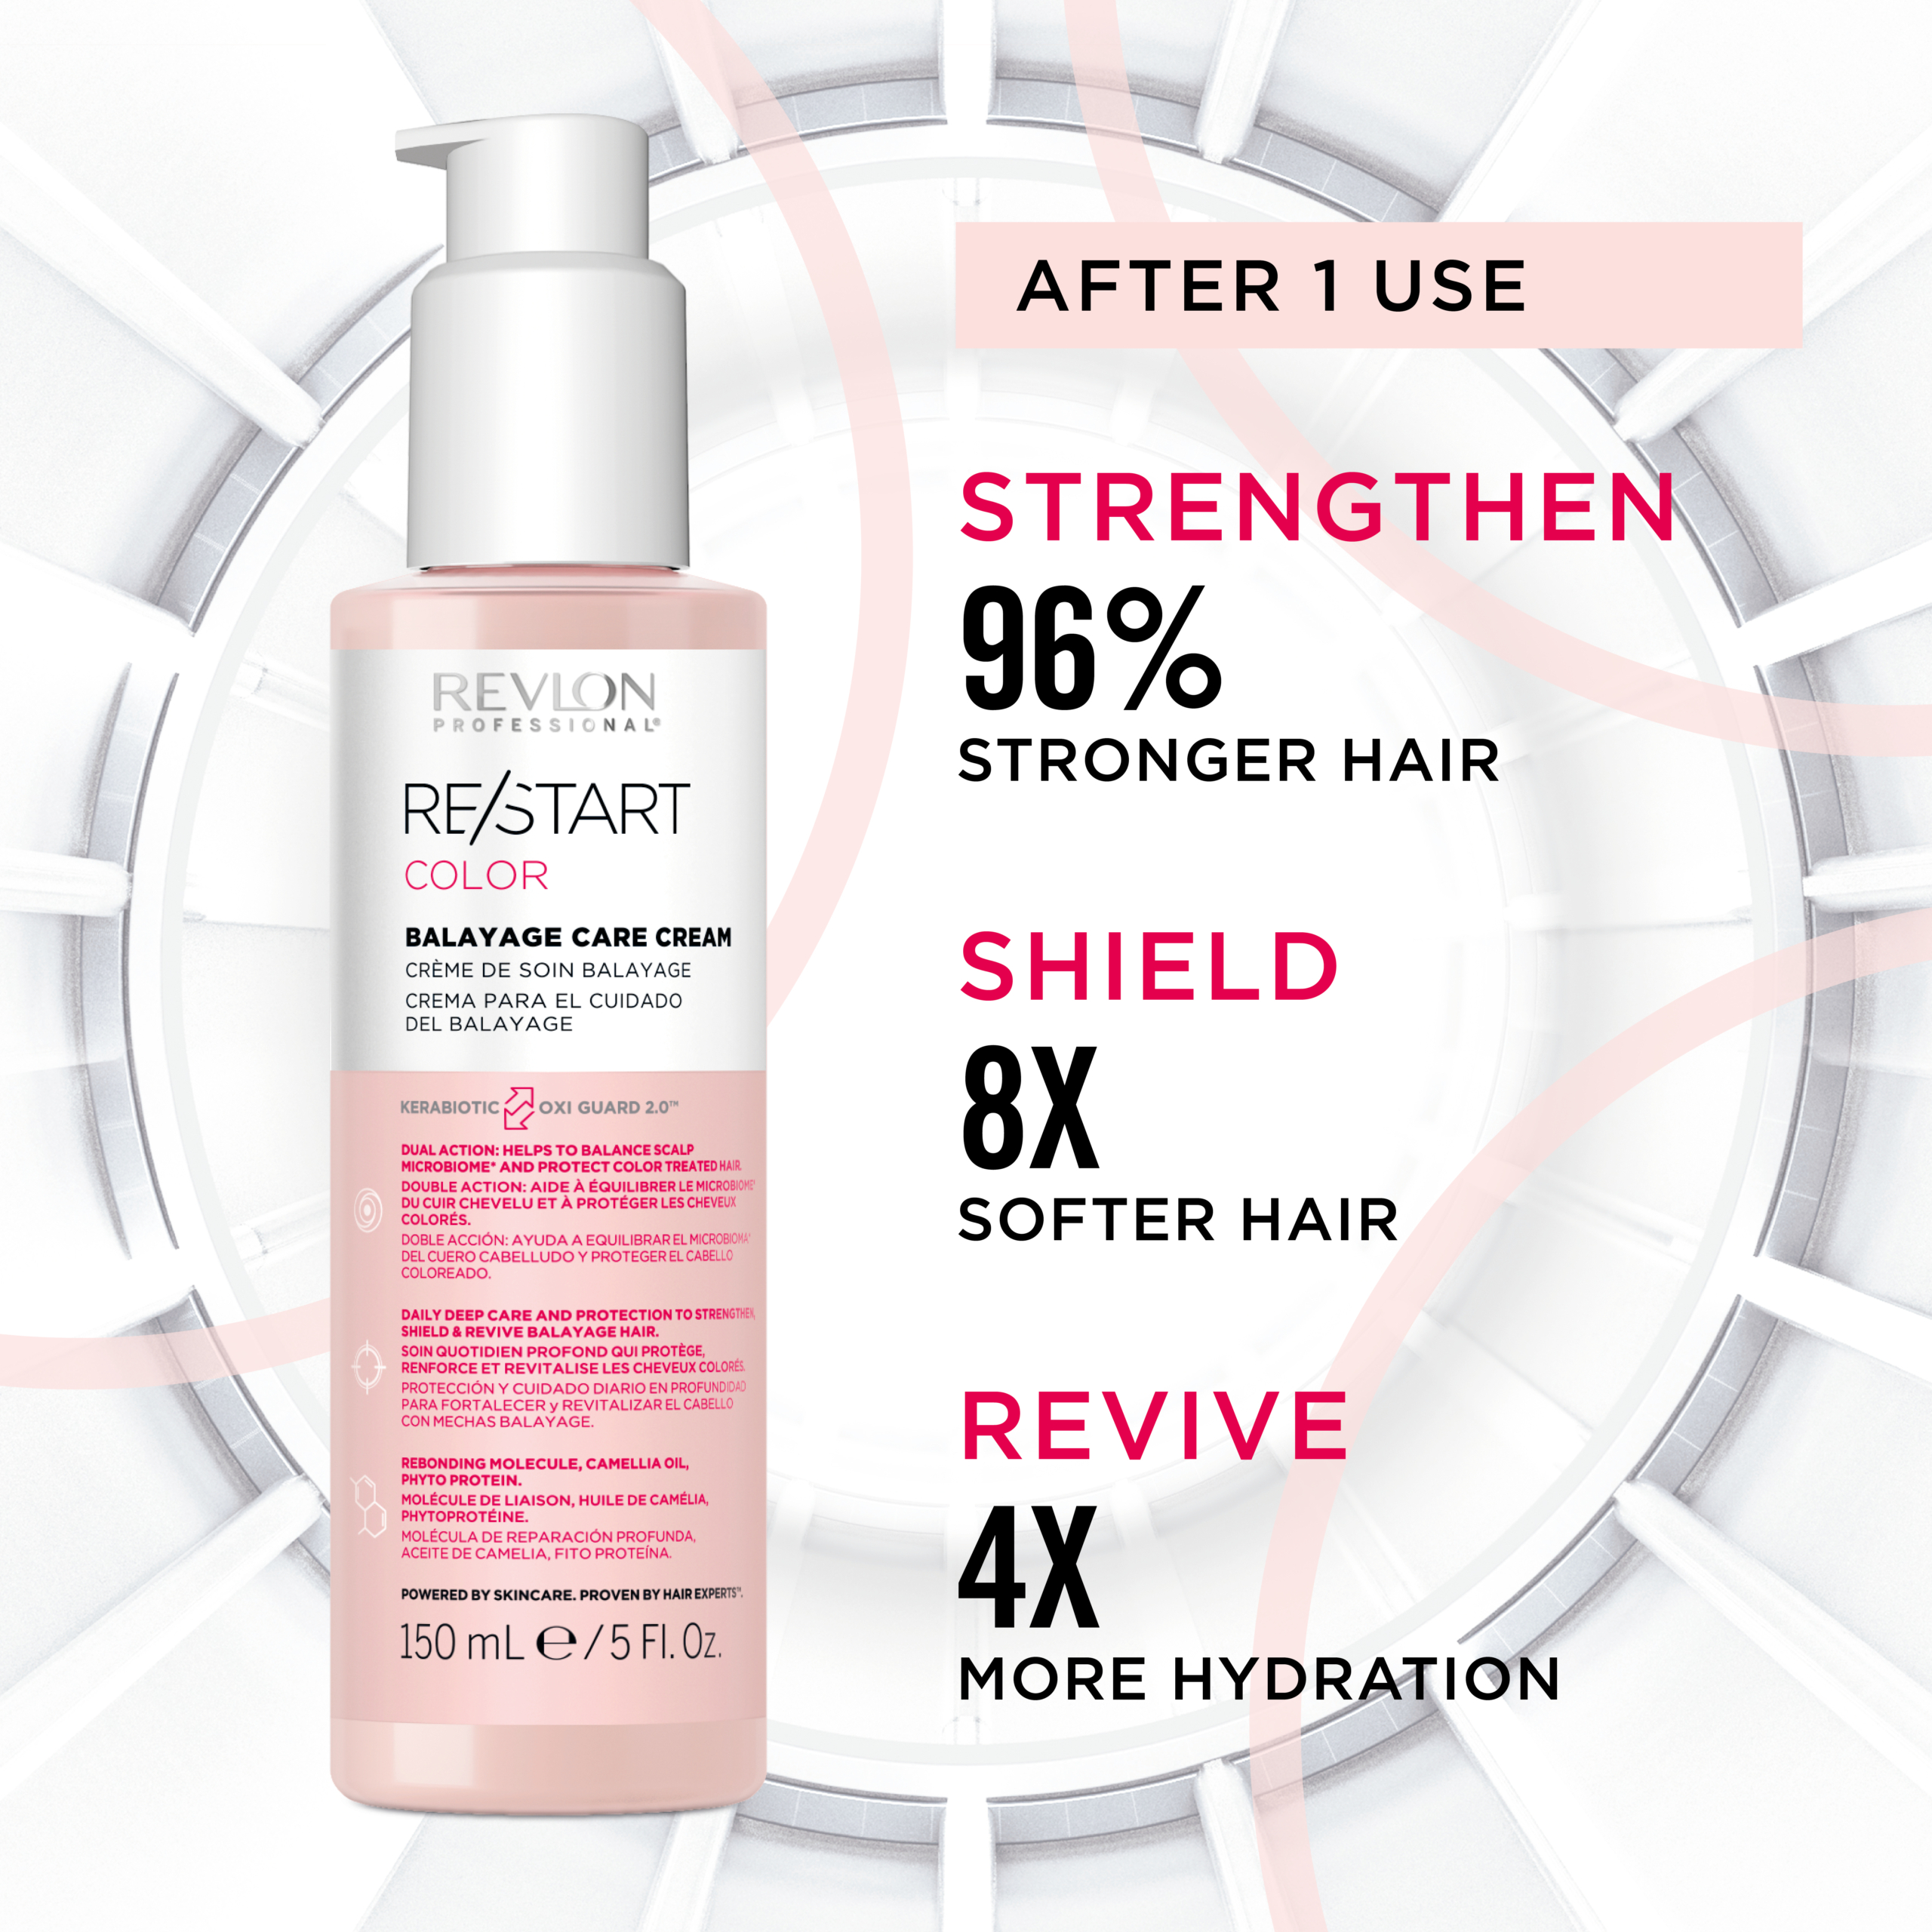
External aggressors such as heat, sun, and salt water can change the personalized tone of the wet Balayage look and leave a brassy hue. To help shield the hair, we recommend the Equave™ Anti-Brassiness Instant Detangling Conditioner. For the ultimate Balayage care and a simple way to help maintain beautiful and healthy-looking hair until the next salon visit, use the RE/START Balayage Hair Care Cream.
Interested in a wet Balayage? Then use our salon finder to book an appointment at a salon near you! If you’re a stylist who wants to keep up to date with the newest color trends and techniques including our brand new Revlon Pro Color World digital app, then make sure you become a client! Simply click here to become one. Once you’re signed up, you can head to our 24/7 educational platform, Revlon Pro Always On, and order your stock directly from our Revlon ProShop.


Related articles
Keep on reading if you’ve enjoyed this one!
November 30, 2023

Balayage on the runway: Celebrity Hair Inspiration and Trends

July 4, 2023
