


How to Fake Full Head Foils
July 9, 2024
If you’re looking to save time for both yourself and your clients at the salon, then the ‘fake’ full head foil technique is exactly what you need. This method allows you to achieve the appearance of a full foil treatment in half the usual time. This technique is ideal for hectic days and guarantees stunning results with optimal efficiency. Keep reading as we unveil our ‘full head’ foil hack.
Ver esta publicación en Instagram
Understanding Full Head Foils
A classic full head of foils involves strategically coloring every section of the hair using weaves and/or slices to add dimension with lighter or darker colors. Booking a full head of highlights can easily take over 4 hours and use 100+ foils.
We’ve all been there—starting strong, only to yearn for the finish as the hours drag on. Yet, not every client requires or desires extensive foiling. Dimension is key, and blending natural tones with lighter sections can achieve a striking, easy-to-maintain style. So bid farewell to those overly packed heads of foils and get ready to cut your timing by more than half and enhance placement with strategic angles and tip-outs instead.
Why Fake Full Head Foils?
1. Cost-Effectiveness
Using fewer foils and less product can significantly reduce costs, making services more affordable for clients and more profitable for stylists. By cutting down on the amount of product and the time spent per client, you can increase your salon’s efficiency and profitability. This method is especially beneficial for clients who want a refreshed look without the commitment of a full foil application.
2. Convenience
The ‘fake’ full head foil technique is faster, allowing you to serve more clients in a day without compromising on quality. Quick turnaround times are essential for keeping up with a packed schedule, and this technique allows you to meet your clients’ needs without the long wait times associated with traditional foiling. The results can be equally impressive in a fraction of the time, making it a win-win situation for everyone!
Ver esta publicación en Instagram
3. Flexibility
This technique can be tailored to each client’s needs, providing a customized look that mimics the effect of a full head of foils. Whether your client wants subtle dimension or striking contrast, the flexibility of this method allows for a personalized approach that meets their unique hair goals.
4. Less Damage to Hair
Fewer foils mean less processing time and reduced exposure to chemicals, resulting in healthier hair. This is a significant advantage for clients who are concerned about the health and integrity of their hair. By minimizing the amount of lifting and processing, you help maintain the hair’s natural strength and elasticity.
5. Tools and Materials Needed
To achieve the perfect ‘fake’ full head foil technique, you’ll need the following tools and materials:
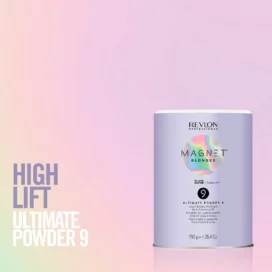
- Your choice of color or lightener such as Magnet™ Blondes Ultimate Powder 9 or 7
- Preferred developer
- High-quality foils
- Teasing comb
- Sectioning clips
- Hair toner (based on desired end result)
- Pin tail comb for precise sectioning
- Mixing bowl and brush
- Balayage painting board
- Professional care and styling products
How to Fake a Full Head of Foils: A Step-by-Step Guide
- Step 1: Planning. Remember, the key here is to avoid over-foiling. However, it’s crucial to conduct a comprehensive consultation with your client. This includes conducting tests and understanding how they typically wear their hair day-to-day. This step ensures that the placement of your foils accommodates all scenarios, whether they wear their hair in a high ponytail, down, or in a specific parting. This is essential for effective foil placement.
- Step 2: Sectioning. Once you find the perfect parting, it’s time to select the hair. Divide the client’s hair into four standard quadrants. Instead of straight lines, create zigzag partings to add softness and diffusion, which will blend the highlights into the natural hair.
- Step 3: Mix Lightener. Prepare your choice of Magnet™ Blondes Ultimate Powder with your preferred developer. Start by identifying the darkest areas of the hair, typically found at the back and crown. Begin your first subsection using either a weave or slice technique (for greater coverage) to ensure dimensional results. Maintain natural base sections between each weave for a less-is-more approach—avoid back-to-back foiling techniques at all costs!
Lightly tease the subsections for a softer outcome and apply the lightener as desired. For a softer, lived-in look, consider applying color or lightener from midshaft to ends, feathering upwards. Repeat this diagonal zigzag pattern for each foil throughout the quadrant, typically requiring approximately 3-4 foil packets to cover the crown area.
- Step 4: Back & Tip Outs. The back section is where you’ll achieve the most time savings and dimensional impact. Place your foils at a 45-degree angle and aim to use only 15 foils for the entire back area. Strategic planning and clever placement, such as using slices and thicker weaves, ensure maximum coverage, including the hair around the nape. Once the foils are in place, the quickest way to enhance brightness and create the illusion of a full head of foils is to add lift to the ends. Use a Balayage board for precise painting!
- Step 5: Side Sections. Continue the zigzag partings on the sides using diagonal sectioning, which creates the illusion of fuller coverage and ensures better visibility of the hair within the foils. This approach avoids the overlapping that can occur with straight or traditional sectioning techniques. Choose to tease, weave, or slice the sections based on your client’s desired outcome, keeping in mind that hair around the face is typically finer compared to the fuller and thicker mid-sections. Ensure thorough saturation of the sections, with a focus on the mid-lengths and ends to achieve maximum lift and desired results.
- Step 6: Front Section. Assess the hair, hairline, and any fringe. Customize the front foils accordingly. Continue foiling around five horizontally teased slices or weaves from the front hairline to the back triangular section. Process as per the desired result and manufacturer’s instructions.
- Step 7: Tone the Hair. If you have lightened the hair then it’s time to choose your toner. The shade should be provisionally selected with your client but it’s important to remember that the hair does not always lift to plan! Because of this, never pre-mix your toner. Instead, look at the hair after it has lightened and then mix your toner based on the desired end result and the level the hair has lifted.
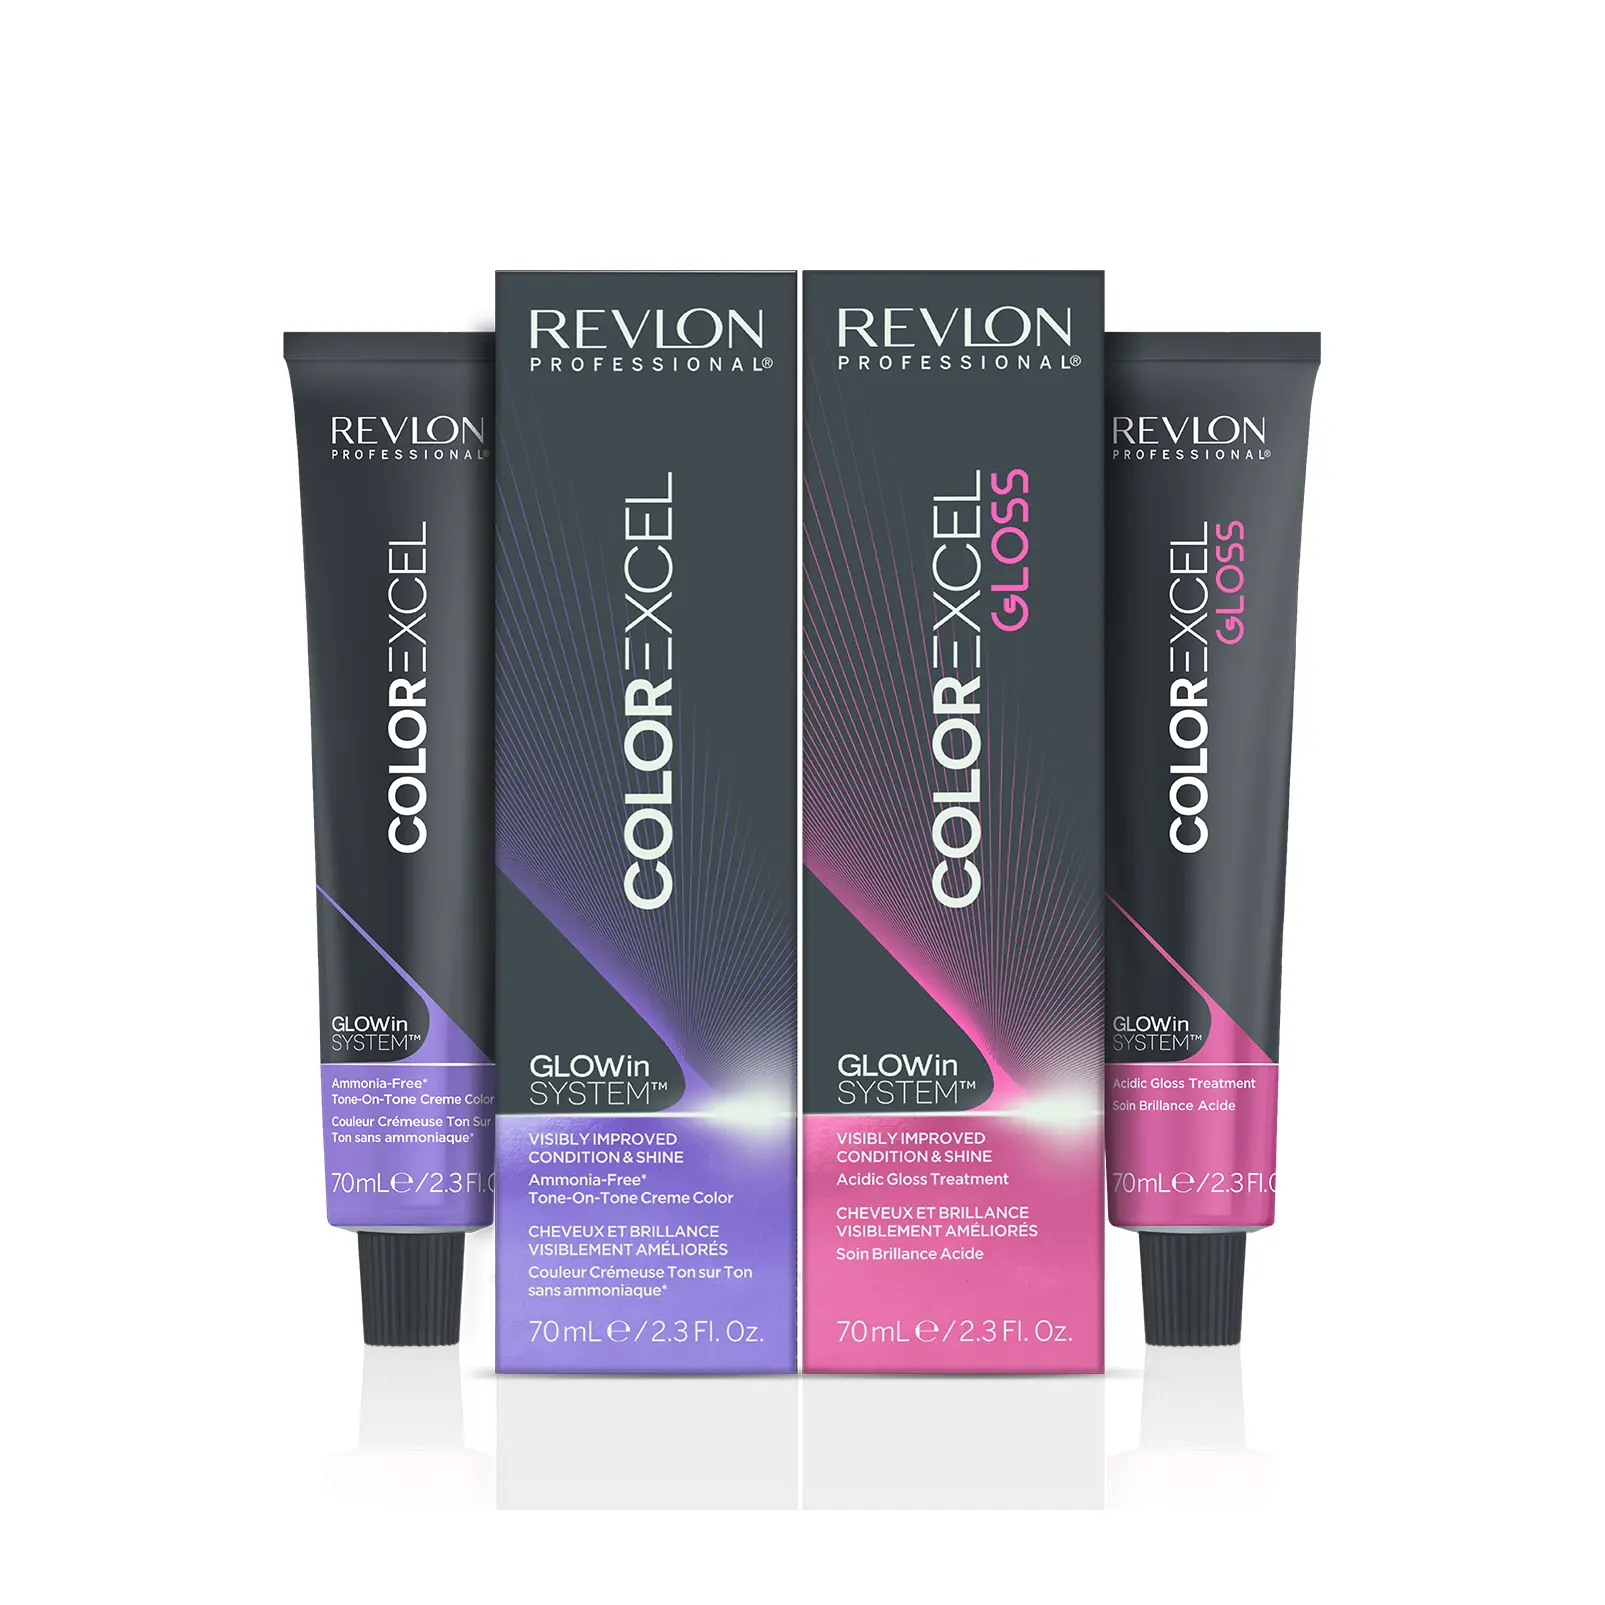
We love the Color Excel Gloss – 10 minute hair gloss treatment. This damage-reversing demi-permanent hair gloss will glaze, tone, correct, refresh, and neutralize. To keep the color from fading, we recommend rebooking for a toner every 6-12 weeks!
Ver esta publicación en Instagram
Maintenance
Maintaining your client’s new look is essential not only for their satisfaction but also to preserve the vibrancy of their color over time.Here are some tips:
- More Natural-Looking: Highlight a few sections for a natural appearance. This subtle approach blends better as the hair grows out, reducing noticeable regrowth lines.
- Less Damage: Fewer highlighted sections means less overall damage to the hair. This is beneficial for clients who are concerned about the health of their hair, especially those with finer or previously damaged hair.
- Low Maintenance: Top up with some partial highlights rather than going in with the same amount of foils each session. This will allow for even longer intervals between full head touch-ups.
The ‘fake’ full head foils look stunning, so now it’s time to encourage your clients to keep them that way. Recommend these essentials to help your client keep their look ‘salon-fresh’ until the next visit!
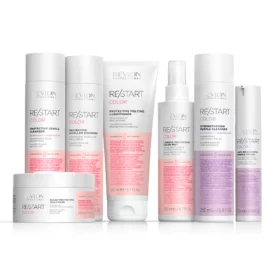
- A weekly hair treatment like our RE/START™ Color Protective Jelly Mask – Revlon Professional is perfect for preventing color fading and providing essential hydration to keep hair looking its best.
- Shield hair from external factors like sun exposure, heat styling, and saltwater with Revlon Professional Equave™ Anti-Brassiness Instant Detangling Conditioner. Formulated with a high concentration of purple pigments, this powerful leave-in detangler and conditioner for blonde, gray, and bleached hair effectively neutralizes any undesired yellow tones.
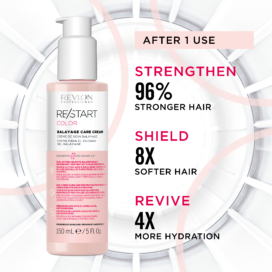
- For clients with Balayage, recommend the RE/START Color Balayage Care Cream which is scientifically designed to care for and treat the specific needs of highlighted hair.
If you’re a pro stylist who wants to keep up with the newest color trends and techniques, become a client! Sign up for our 24/7 educational platform, Revlon Pro Always On. You can also download our brand new Revlon Pro Color World digital app, and order your stock directly from our Revlon ProShop.


Related articles
Keep on reading if you’ve enjoyed this one!

September 2, 2024

16 Inspiring Blonde Balayage Ideas
July 4, 2023
